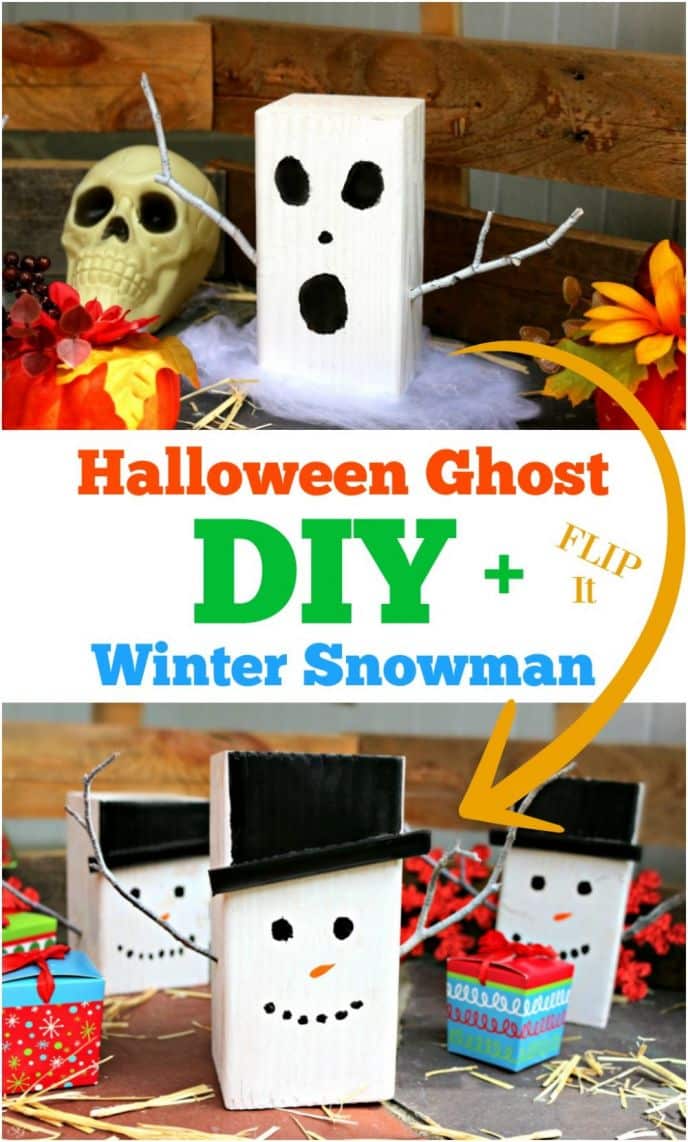
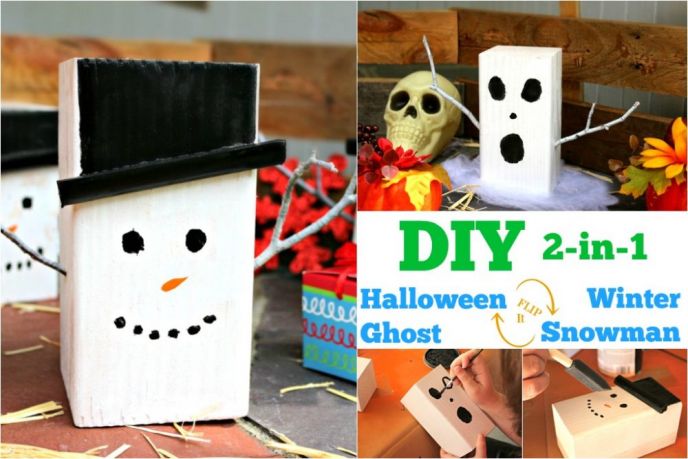
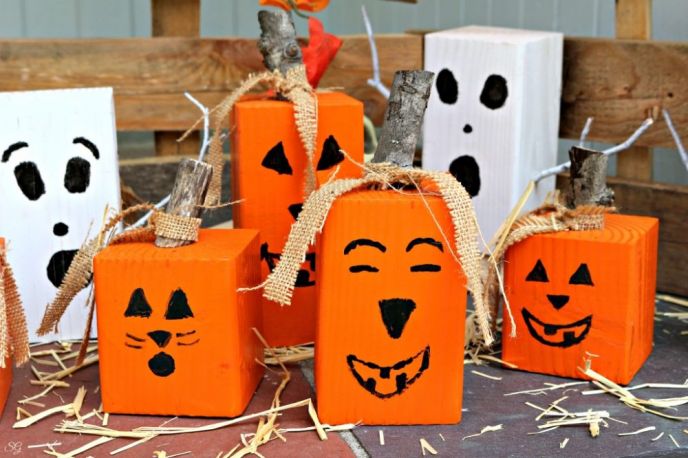
This Halloween and winter decor piece is a great little DIY project to add to your front steps. On one side of this DIY decor piece, you’ll be making a Halloween ghost. On the other side, you’ll be making a winter snowman! Once Halloween is over, flip it around and you’ll have a snowman for winter! Don’t forget to make Halloween pumpkin jack o’ lanterns!
For this simple Halloween DIY – or winter DIY project, depending on which way you look at it (haha), you’ll be using a 4×4 piece of wood. This one is really simple, get the kids involved in making this one for sure! They’ll love drawing on the faces!

DIY Halloween Ghosts & Winter Snowmen Decor
Materials:
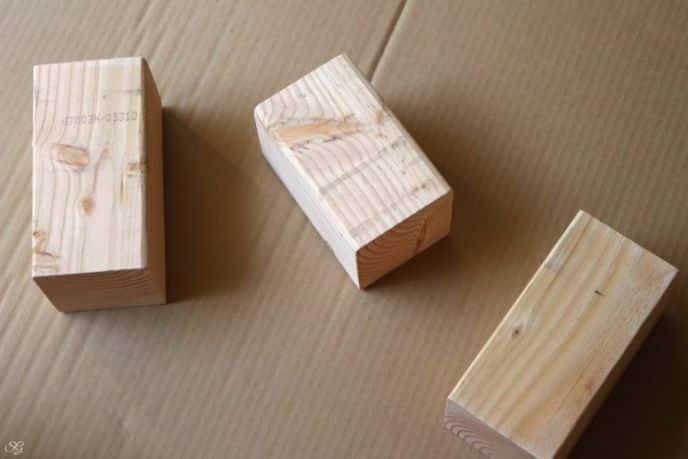
- 4×4 wood, cut into various size blocks
- One ½” x ½” x 5″ wood for each piece, I’m using scrap quarter round
- White spray paint
- Black paint (can)
- Orange paint
- Wood glue
- Twigs (2 for each ghost/snowman)
To begin, cut 4×4 wood into varying size blocks. The size really isn’t too important. Mine are about between 6 and 8 inches tall.
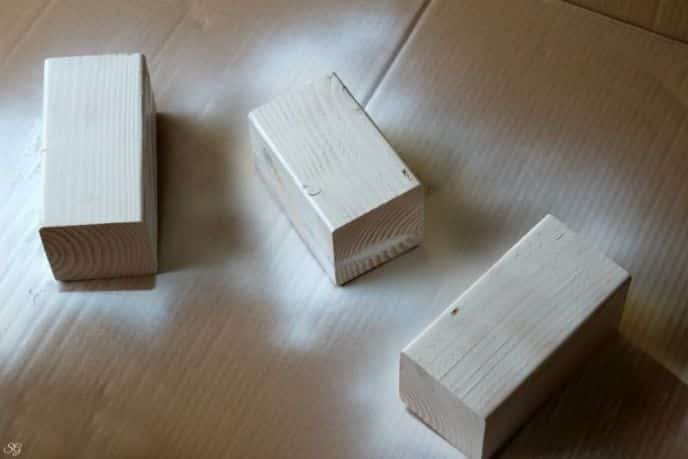
Next, paint all the sides white. You can leave the bottom side unpainted if you wish as the bottom of our snowman and ghost wont be exposed.
While you’re waiting for your white paint to dry, we can paint the arms for our DIY Halloween ghost and our winter snowman. We’ll also paint the brim of our snowman’s hat!
Lay all the twigs out on your painting surface (I always use cardboard boxes). Lightly spray paint using white paint only one side of the twigs. Spray lightly and directly down onto the pieces so the paint doesn’t get on the other side. One side, with the white spray paint, will be for the Halloween ghost arms and the other, non-painted side, will be for the arms of our snowman!

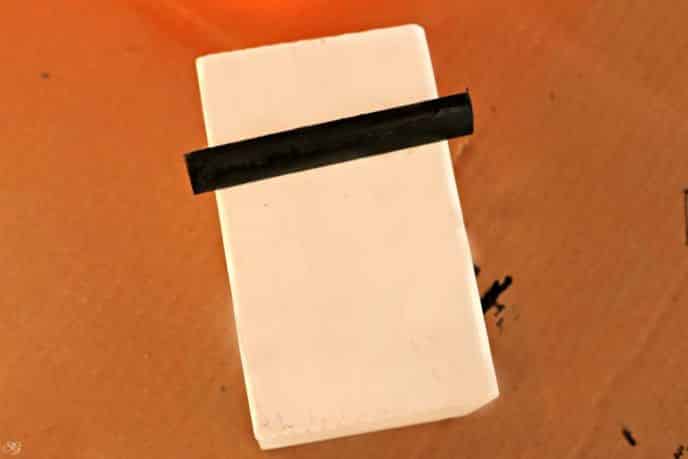
Next we’ll paint our thin wood pieces with black paint, for the snowman’s hat brim. Use whatever you have for material, I’m using some scrap 1/4 round wood pieces. You can use almost any wood that is approximately the same size. Cut them to 5 inches long.
Paint them black, leaving the backside not painted.

Hopefully by the time we get our twigs and snowman hats picked out, cut and painted our white wood blocks will be dry and ready for faces! Now it’s time to paint faces on for our snowmen and Halloween ghosts!
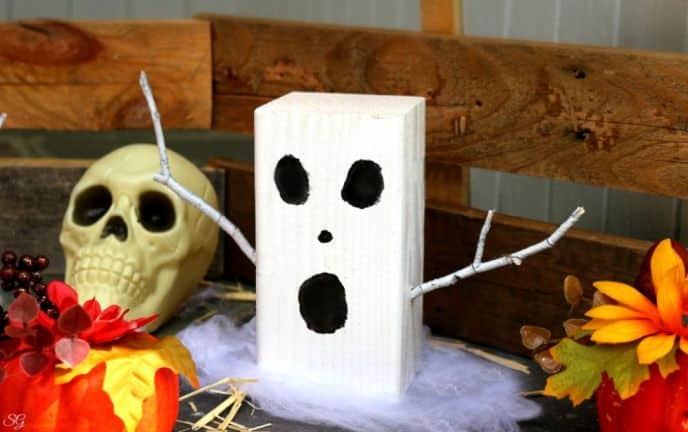
DIY Halloween Ghost Decorations
On one side of the wood blocks we’ll paint on a Halloween ghost face… Thanks Katie for being my painting model 😉
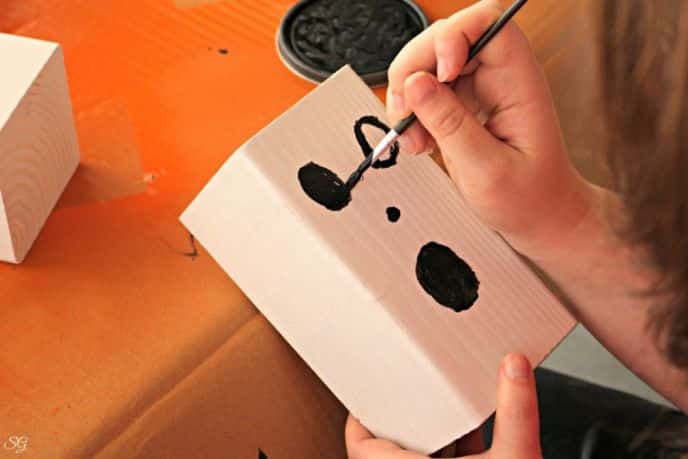
Now we wait until the face is dry. Meanwhile, we were working on Halloween Jack O’ Lanterns, which Katie pointed out could be used for regular fall decorations by simply turning them around! Nifty!
Back to our Halloween ghosts and winter snowman craft project. Once the ghost faces are completely dry, we can flip over our piece and work on the snowman side! Your snowman face should be on the opposite side as your ghost face.
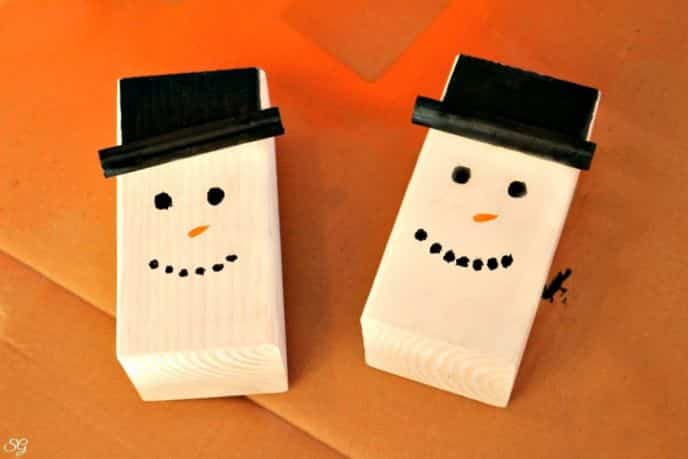
DIY Winter Snowman Decoration
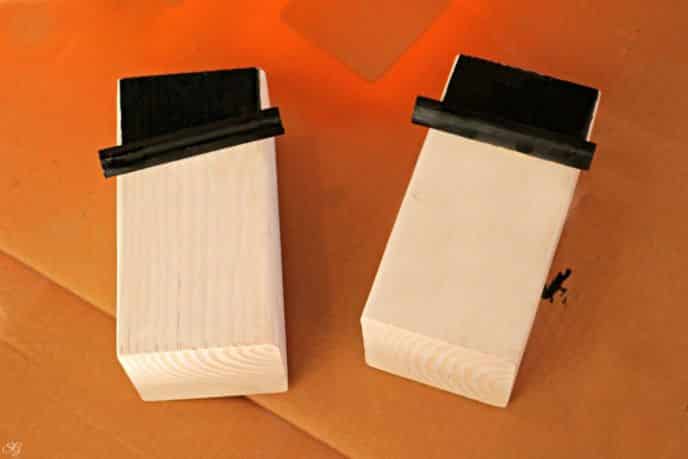
First, we need to attach the brim of our hat to the snowman side of our project. Use a little bit of wood glue. I also used a couple brad nails (you could use finish nails) to secure it in place while the glue dries. I liked my brims to be tilted a little bit. You can have the brim straight across – make it your own and place the brim how you like.
Once the brim is secured to the snowman at about 1/4 of the way from the top of the wood block, we can paint the hat portion of the block with black paint.
Now we can paint on the button eyes and coal smile with black paint. We’re leaving off the corn cob pipe, but if you’re feeling talented — go for it!

Now for the snowman’s carrot nose. You may be wondering how to paint a carrot nose onto your snowman. Well, it’s pretty simple. You want to take a little orange paint and dip the very tip of a foam brush into it. I just used the spray paint from our pumpkin project and sprayed a little bit on a paper plate. Then just a single dab of the corner of your foam brush onto the spot where you want your carrot nose to be!

See, easy peasy!
Now we let this side dry completely. Otherwise, it’s inevitable that we get fingers in the paint and smear it! Then we can continue to attach the twig arms to our snowman and Halloween ghost!
Break out your drill bits and find the bits which best correspond to the size twigs you have. The twigs only need to be 4 or 5 inches long and not very thick at all. Drill holes at about 1/3 of the way up the sides, on either side of the faces at a slight downward angle.
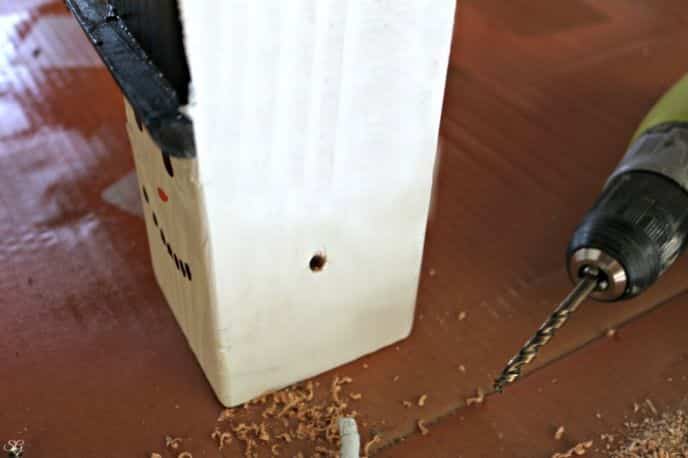
Apply a little bit of wood glue to the end of your twig and stick it into the hole you’ve drilled.
NOTE: Make sure your white painted sides are facing the side with the ghost faces and your unpainted sides are facing the snowman face.
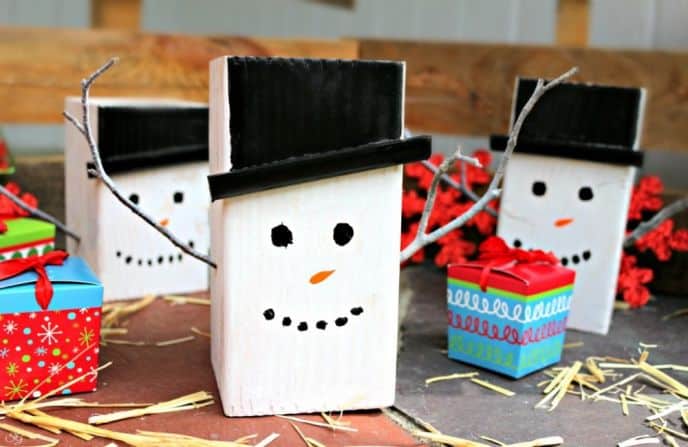
How cool is this that you can use this DIY wood block project for both a Halloween ghost and a winter snowman! It certainly extends the usefulness of your decorations. Here in New England we’ll have these block decorations out from October until April! That’s almost 7 months for this one decoration!
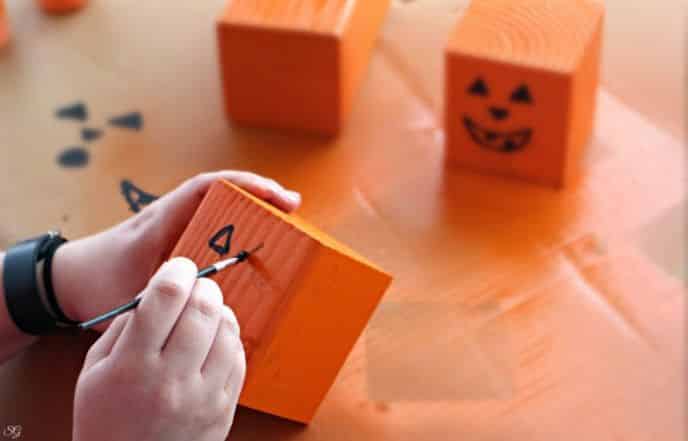
Now skip over and learn how to make Fall Pumpkins and Halloween Jack O’ Lanterns!
Halloween Jack O’ Lanterns »
How many DIY Snowmen – Halloween Ghosts will you make?
- Like
- Digg
- Del
- Tumblr
- VKontakte
- Buffer
- Love
- Odnoklassniki
- Meneame
- Blogger
- Amazon
- Yahoo Mail
- Gmail
- AOL
- Newsvine
- HackerNews
- Evernote
- MySpace
- Mail.ru
- Viadeo
- Line
- Comments
- Yummly
- Send in Text
- Viber
- Telegram
- Subscribe
- Skype
- Messenger
- Kakao
- LiveJournal
- Yammer
- Edgar
- Fintel
- Mix
- Instapaper
- Copy Link
Great project… I really enjoyed the tutorial.
I loved these when I first saw them on HomeTalk, I just had to come say hi on your blog and see all the other amazing projects you’ve got.