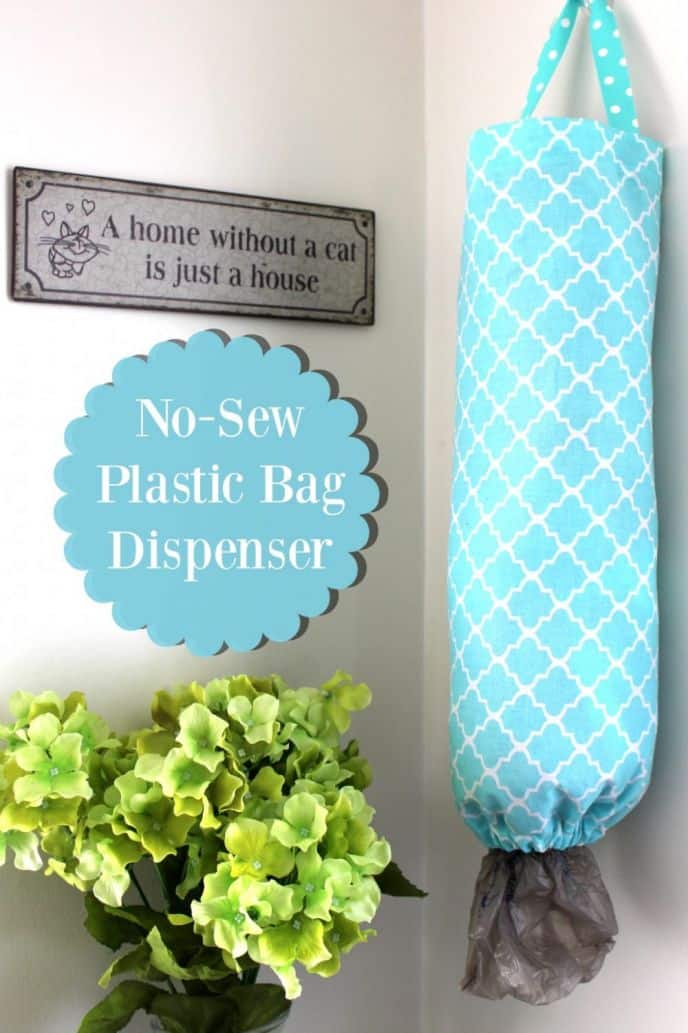
Make a no-sew plastic bag holder in no time!
Imagine walking to the kitchen and opening the sink cupboard only to find a bundle of loose plastic tumbling out. Organizing those plastic bags properly will take another hour of your time. Sounds exhausting, right?
But there is a way to reduce this hassle. There is a way you can keep all of your plastic bags organized and find them quickly when needed. The way is to make a plastic bag holder. Trust me, a plastic bag holder will keep your kitchen tidy and make your life less stressful.
As you are making a DIY plastic holder, you have the flexibility to pick a fabric that matches the aesthetic of your kitchen. You can either get a fabric that matches the wall color or purchase a different colored one for a pop effect.
With this plastic bag dispenser on your side, organizing loose plastics will become a lot easier. My simple DIY tutorial is easy to follow. Guess what? It does not require sewing.
So, hurry and make a poly bag dispenser today!
Plastic Grocery Bag Holder
Through this tutorial, I will walk you through the steps so you can make a grocery bag dispenser for yourself in no time.
If you are anything like me, you would also be using plastic bags for many things, from scooping the litter box to carrying items. While plastic saves us on many occasions, seeing them all shoved inside the cabinet makes us anxious. It’s messy, it’s unorganized, and it does not look good.
Plus, at this rate, we are likely to lose an entire spacious kitchen cabinet to plastic. C’mon, we cannot let that happen, especially when we know how to make a durable hanging plastic bag holder without sewing.
When you organize plastics in a kitchen garbage bag dispenser, you can find them when needed.
Ready to make a fabric plastic bag holder? Keep reading to know the steps.

Steps to Make a Plastic Trash Bag Holder
Follow the steps carefully to make a homemade plastic bag holder.
Step One:
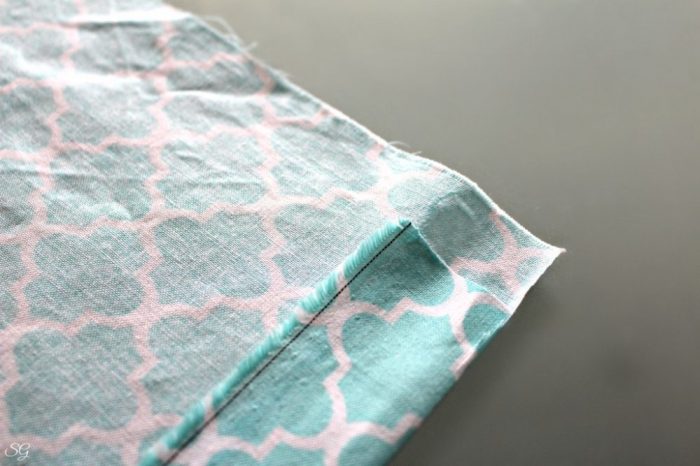
Start the process of making a plastic grocery bag dispenser by laying the fabric on the table, the wrong side up. Then fold the top of the cloth at about 2 inches each.
Then cut a small square from the bottom corner of the fold. This cut will make it easier for you to cover the elastic band later. Leave space at the bottom of the cloth for the elastic band to be fed thoroughly.
Carefully secure the elastic in the folds with glue. At the bottom, glue the edge of the cloth, leaving plenty of room so the elastic does not slip. Then glue the entire top of the cloth together for a secure fit. Then leave the fold to dry for a few hours.
Step Two:
Once the folds are all dried, turn the dispenser bag right side up. Fold one side of the cloth and apply glue on the edge. Then fold another side of the cloth and stick them together. Allow the glue to dry.

While gluing the edges, remember to leave an inch of cloth unglued to put the elastic through. After putting the elastic band, you can secure the unglued part.
Step Three:
Flip the plastic bag dispenser out once it’s dried. Ruffle the fabric and make a small cut on the elastic. Do not make a bigger hole; it will make the plastic bags fall out of the garbage bag dispenser DIY.

For a better fix, you can staple the elastic band as well. Following this, glue the rest of the fabric.

Step Four:
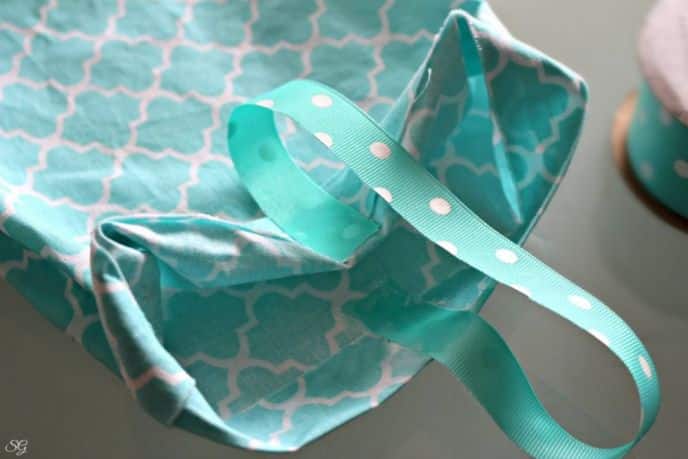
Use ribbons of the same color and attach it to the inside of the bag using the bag. Make sure the ribbons are attached at about 1/2 inch around the bag on both sides.
After the glue is all dried, your plastic bag wall holder is ready. With this DIY grocery bag holder, no-sew, you can take care of all the plastics at your home.
How to Use Disposable Plastic Bag Holder?
To use the plastic grocery store bag dispenser, shove the plastic bags from the top inside the dispenser. Do not fold them, simply put them in the dispenser. Pull one from the bottom of your homemade grocery bag holder when you need a plastic bag.
How to Keep DIY No Sew Plastic Bag Holder Clean?
Homemade plastic bag dispensers are likely to get dirty from time to time. Don’t worry because cleaning them is easy. You can either hand wash your small plastic bag holder or clean them in the machine.
If you like this plastic bag holder dispenser tutorial, pin it to your sewing ideas board.
Tools Required to Make a Plastic Bag Holder

Instructions to Make Polythene Bag Holder
- Lay your fabric on the table, the wrong side up.
- Fold the bottom and top of the cloth for 2 inches each.
- Cut a small square from the bottom corner of your cloth. Secure the folds with glue. For the bottom edge, only glue the very edge and leave plenty of room to slip your elastic through. You can glue the entire top folded edge.
- Turn the dispenser right side up.
- Fold one side of the cloth and apply glue on the edge. Then fold another side of the cloth and stick them together. Allow the glue to dry.
- Once dry, flip the plastic bag dispenser out. Ruffle the fabric and make a small cut on the elastic. Do not make a bigger hole, as it will make the plastic bags fall out from the garbage bag dispenser DIY.
- Cut the ribbon you’ve chosen for the hanger between 12 and 14 inches long, attach it to the inside of the bag using fabric glue.
You might also like:
How do you keep your litter scoop plastic bags organized?

DIY Plastic Bag Dispenser No Sew
Equipment
- Scissors
- Fabric Glue
Ingredients
- 1 Fat quarter of fabric (18″x22″ fabric)
- 1 Knit elastic
- 1 Ribbon
Instructions
- Lay your fabric on the table, the wrong side up.
- Fold the bottom and top of the cloth for 2 inches each.
- Cut a small square from the bottom corner of your cloth. Secure the folds with glue. For the bottom edge, only glue the very edge and leave plenty of room to slip your elastic through. You can glue the entire top folded edge.
- Turn the dispenser right side up.
- Fold one side of the cloth and apply glue on the edge. Then fold another side of the cloth and stick them together. Allow the glue to dry.
- Once dry, flip the plastic bag dispenser out. Ruffle the fabric and make a small cut on the elastic. Do not make a bigger hole, as it will make the plastic bags fall out from the garbage bag dispenser DIY.
- Cut the ribbon you’ve chosen for the hanger between 12 and 14 inches long, attach it to the inside of the bag using fabric glue.
Video
Notes
- Like
- Digg
- Del
- Tumblr
- VKontakte
- Buffer
- Love
- Odnoklassniki
- Meneame
- Blogger
- Amazon
- Yahoo Mail
- Gmail
- AOL
- Newsvine
- HackerNews
- Evernote
- MySpace
- Mail.ru
- Viadeo
- Line
- Comments
- Yummly
- Send in Text
- Viber
- Telegram
- Subscribe
- Skype
- Messenger
- Kakao
- LiveJournal
- Yammer
- Edgar
- Fintel
- Mix
- Instapaper
- Copy Link
Hi Jeannette, You don’t need a fat quarter, you can certainly use any material you have on hand!
Hi there, one question, does it have to be “fat quarter”? Could I just use any fabric I have? Sorry if this is dumb, I dont work with fabric for diys a lot. Thanks in advance!
Thank you Elizabeth 🙂
I love this project. Your munchkin Turbo, is just the cutest kitten I have seen.
I’m glad you all love this project. It’s been the most popular post here for some time and I know so many of you are coming from Pinterest, I hope you’ll consider pinning this to your boards so others can find it as well!
Wow, great use of the materials you have on hand, that’s awesome! Thanks for sharing!
So easy! I made 3 in about 20 minutes! Took care of the bag clutter in my laundry room. Just used an old tablecloth for the holder and straps. Didnt have elastic so I used old pantie hoses instead and it worked great! Love it. Thanks!
Hi Kathy! Haha, not at all. There are no silly questions. I actually fed the elastic through and ruffled the base of the bag a little bit until the hole was just smaller than my fist – maybe 6 inches of elastic or so and it seems to work very well.
I think by the time you fill it with crinkly plastic bags it’s not going to matter a whole lot, they won’t come dropping out on their own unless they’re very tightly wadded.
Hope that helps!
This probably sounds like a crazy question, but how long is the elastic you use. I know it is a personal preference, but how long was the piece you used. Did you find it to be the right size opening to keep bags in and have easy access?
Thanks, Kathy i Alabama
I’m trying this out for my cat Rukus, who is a long legged version of your Turbo!!!!! Thanks for the instructions
He is pretty sweet 🙂
💕💕💕 Turbo!!!
You’re welcome Cherease! Glad you’ve found it helpful. I definitely prefer the no sew method myself! 🙂
This is perfect since I cant’ sew!!! thanks for sharing.
Hmm, I hadn’t thought of using a bicycle pant leg clip. I think it would work nicely!
It’s a great idea…I’ve made several over the past 39 year, and used some as part of a kitchen shower gift. I do sew, but for my sister who doesn’t, this would be a good way to do it. I was wondering if you ever thought of using a bicycle pant leg clip (put it around your pant leg that is next to the chain, and it will keep your pant leg safe & clean from the chain’s grease), in place of the elastic?
Yay! That’s exciting! Great ideas to repurpose things around the house to make a plastic bag dispenser! Reusing a tea towel and then using stockings for the elastic — ingenious! I have also since made another one, they’re so handy to have! Thank you for the Comment, E!
Thank you for this guide! I couldn’t be bothered to cut the fabric to size so I just used an old tea-towel (this had the added bonus of a hem already sewn at the top). Also, I didn’t have any elastic to hand so I used an old knee-high stocking. I put the thing together in a few minutes and now it’s doing a good job storing my bags. I’ll probably make a few more over the coming weeks. Thanks!
Awesome, I’m so glad you found my tutorial helpful! These no sew plastic bag dispensers come out great, don’t they! So easy and so functional – we love ours! Thanks for your comment, Debbie! 🙂
Thank you so much!!! I just made one. Your instructions were perfect since I don’t know how to use a sewing machine. I still might learn yet at my old age.
At the rescue we go for the plastic bags for scooping. We use a lidded litter container next to the litter box. Just fill and discarded when full. No smell. I dump mine once a week on trash day into a paper bag so to save the litter container.
This is so smart! I should do this with all my grocery bags!
No cat’s in our home, but this bag dispenser would be a welcome addition. I like your style with the no sew!