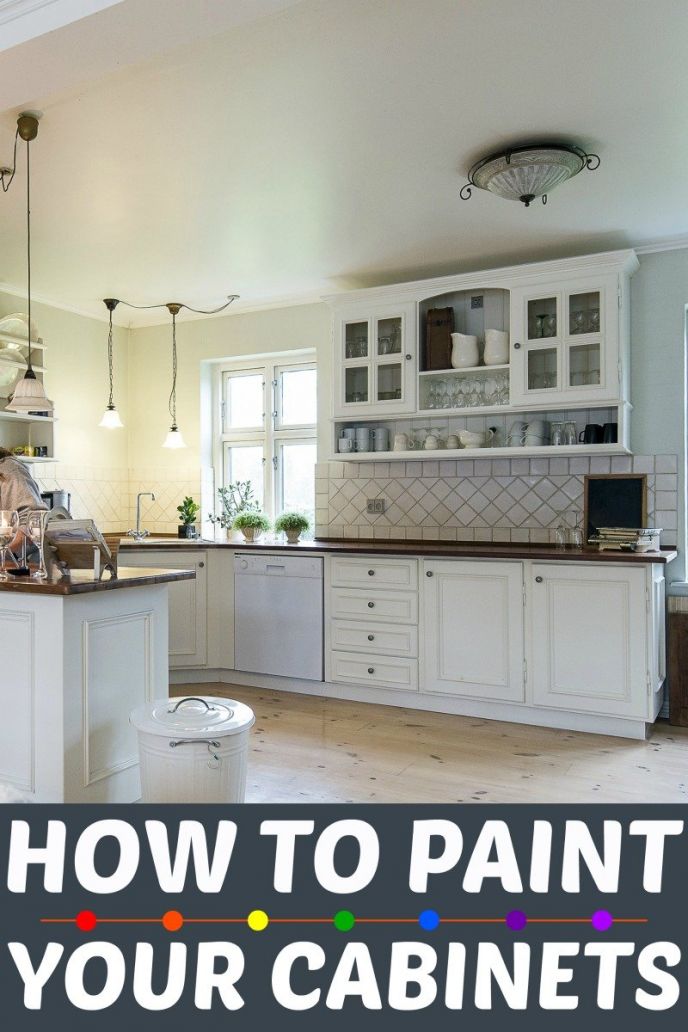
Today we’re talking about how to paint kitchen cabinets like a pro.
Are you thinking of painting yours white? Because then this how-to guide is exactly for you. If you’re thinking different colours, just replace any mention of white paint with your colour!
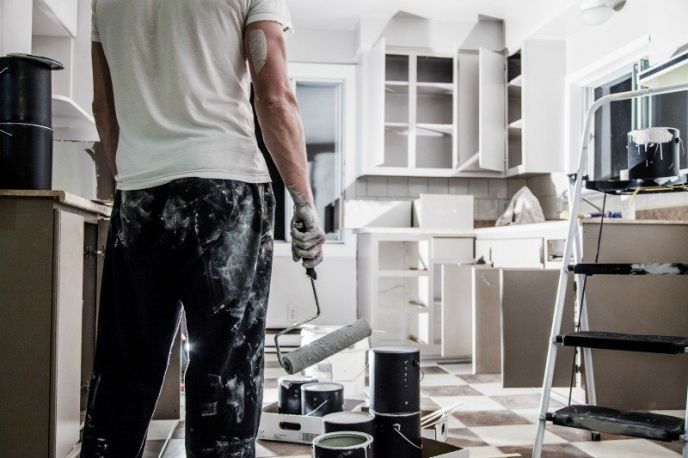
Let’s see how you can accomplish this without calling in the professionals.
Sick and tired of your ugly kitchen cabinets? Well, let’s fix that!
We’re talking about how to paint your kitchen cabinets like a pro. For our project, we painted our cabinets white, the proper way.
Painting your cabinets properly will save you time and money in the long run.
Sure, you can get a cabinet painting kit. But you can also use regular paint that is made for cabinets and get the job done right, the first time.
Speaking of time, make sure you plan for enough time. Because waiting for paint to dry is like an Olympic sport. You’re in it for the long haul!
Need some decor inspiration? Then, check out this acrylic paint pour project.
How Much To Paint Kitchen Cabinets
Before we get into the materials and how to start and complete the job, let’s talk about how much it would cost you to hire a contractor to do the painting.
The cost to hire a contractor will vary greatly depending on where you live.
If you’re going to hire a pro, it could cost anywhere from $5 to $10 per square foot. And that’s inside and out of your cabinets.
So, go ahead and measure it up if you’re curious.
The national average cost is roughly $2,000 – $3,000.
Hiring Higher-end contractors to complete large kitchens might cost upwards of $8,000 – $10,000. However, lower-end contractors in small kitchens could cost a few hundred bucks.
How to Spray Paint Kitchen Cabinets
As a DIYer, you may consider spray painting your cabinet. But I would suggest the good old fashion brush and roller. Because it’s less technical and more satisfying, at least for me it is.
Also, there is a learning curve for using spray paint on your kitchen cabinets.
While it’s not a steep curve, once you start and get a sag or drip with a sprayer, you’re going to have a hard time fixing it.
Additionally, aside from the chance of getting sags or drips with a sprayer, the setup time for masking everything off is extensive.
Setting up for spraying includes plastic and masking off your floors, countertops, backsplash, windows, and even masking off the ceiling. Otherwise, you chance over-spray settling on all these surfaces.
By the time you get done masking everything off and set up your sprayer, you’d be well on your way to having painted cabinets!
Materials
- Sawhorses and 2×4’s to lay the cabinet doors on (you may need a couple of sets)
- Alternatively, you can place the 2x4s on the floor, but your back will thank you for sawhorses or getting them up off the ground
- Painters tape, plastic, canvas drop cloths, rags etc…
- Vinegar and water, sponges, and towels for cleaning
- 180 and 220 grit sandpapers (orbital sander optional)
- 1/4″ nap rollers
- Fine bristle paintbrushes
- Roller trays
- Paint bush cups
- Primer Paint – I highly suggest Glidden Gripper primer, now renamed PPG Primer
- Finish Paint – acrylic latex, the color of choice (White is a dashing color to brighten up your kitchen)
How To Paint Kitchen Cabinets Like a Pro
Here we go! We’ve got all our materials and we’re off to paint our kitchen cabinets a nice bright white.
Freshening up the kitchen has never felt so good.
Remove Doors, Drawers, Hardware
First, you’ll want to do is remove the cabinet doors, drawers, and all of the cabinet hardware.
This is a step you don’t want to skip. Trust me, it’s easier from start to finish just to remove the doors and hardware before starting.
Organize All Hardware and Doors
Second, it’s important to stay organized.
Bag and label all the hardware for each. And don’t skimp on little baggies either. Stay organized and the whole process will go smoothly.
Next, label the back of each door and keep track.
Once you paint them you’ll need to remember where they go. So, when you lay out the doors on your sawhorses and 2x4s, make a chart on a notepad to know where the doors go when you put them back on the cabinets.
Likewise, label each baggie of hardware, especially if your cabinets are older – the hardware holes may be door-specific.
So, make sure they go back on the same doors/drawers.
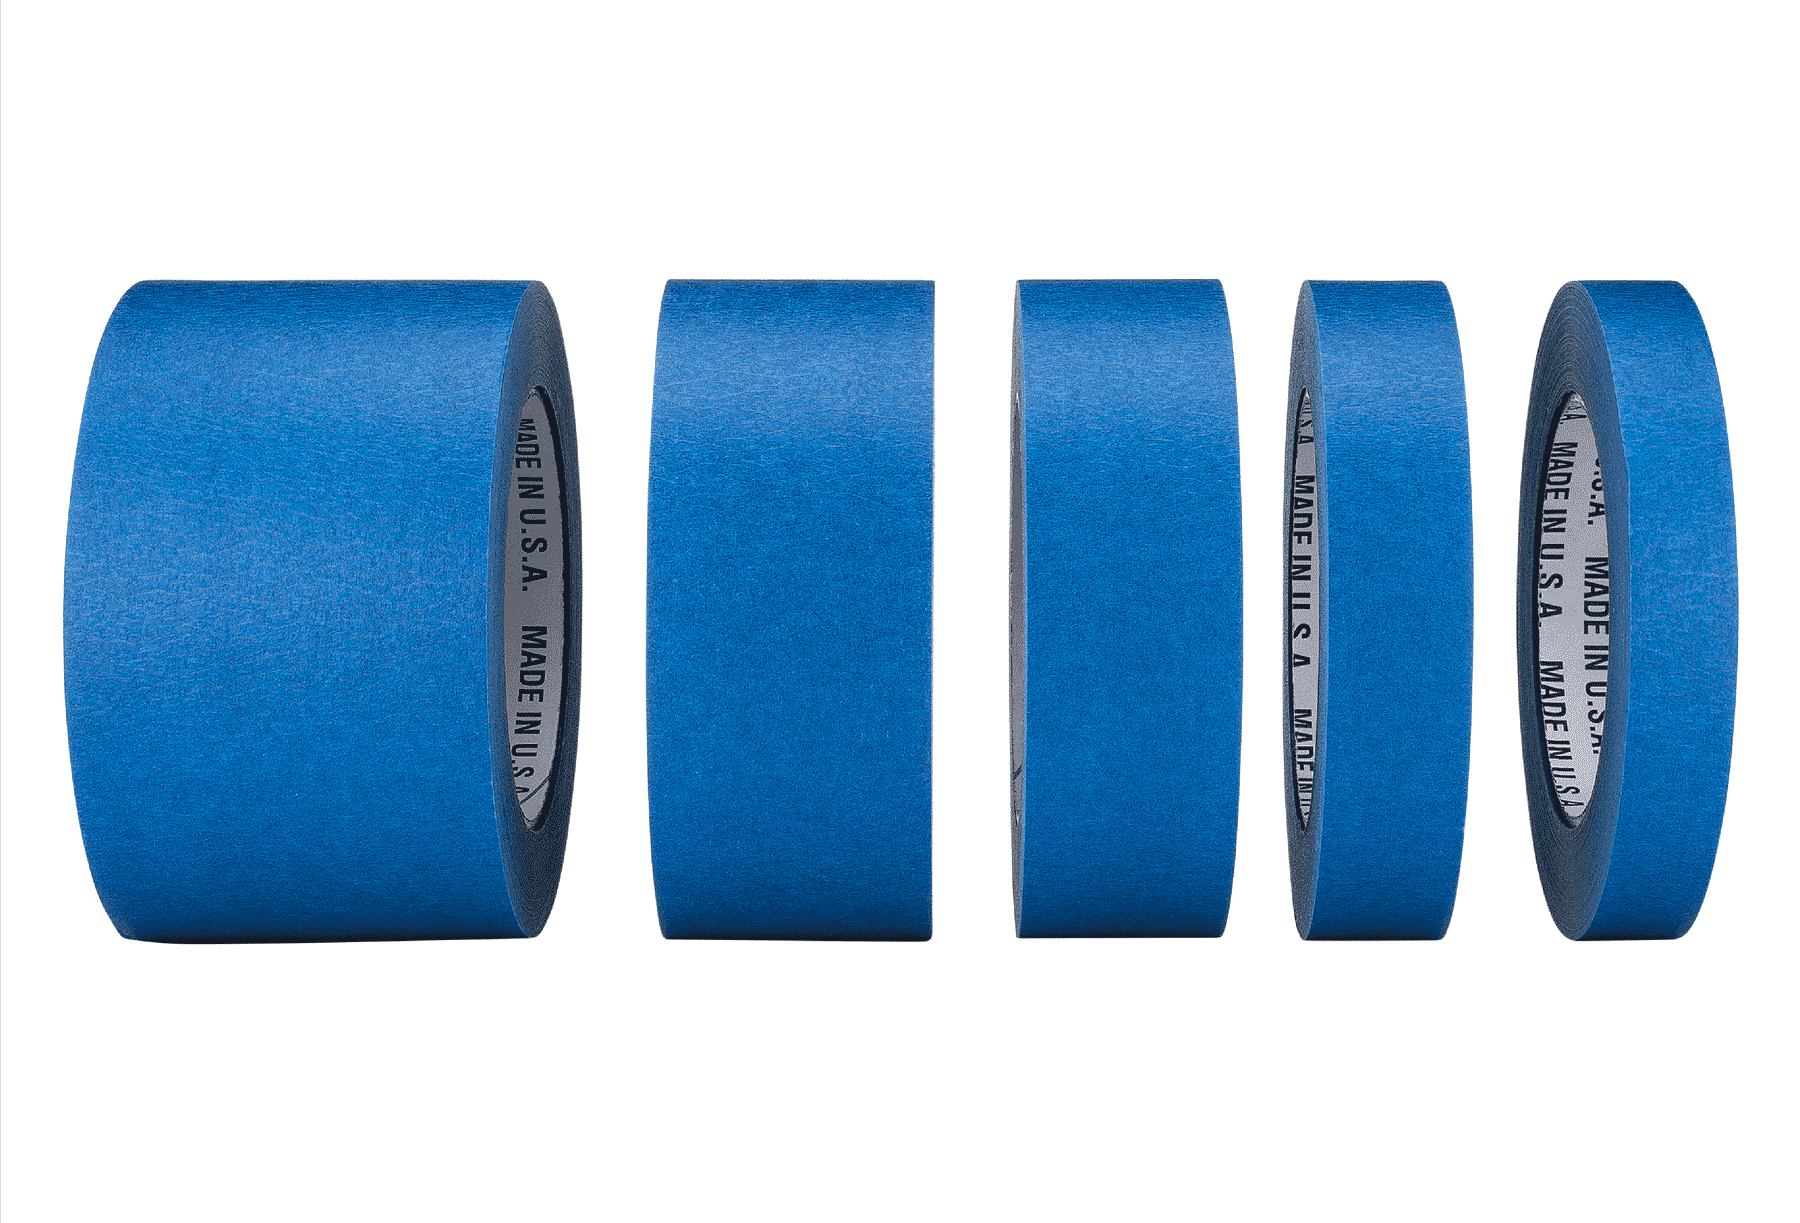
Masking Off With Painters Tape
While you will want to tape off some areas, it’s not nearly as extensive as if you were spraying paint.
Tape off everything you don’t want to be painted with painters tape.
This primarily includes taping the edge along the backsplash, the lip of the counter, along the wall where your countertop butts against it.
Your skill level will determine how much taping off you want to do.
If you think you’ll spill or drip, you’re more than welcome to tape and plastic off everything!
If you’re skilled and promise not to make a mess….well…..still tape off everything because we know how that goes! (haha!) Seriously, how much you tape off is up to you.
Psst… No need to remove the doors on the drawers, just pull them out and tape off the drawers so you don’t drip paint on/in them.
Clean Off The Grime
Clean and dry all the surfaces you wish to paint with a 50/50 mixture of vinegar and water. Then, allow all the surfaces to dry completely before moving on.
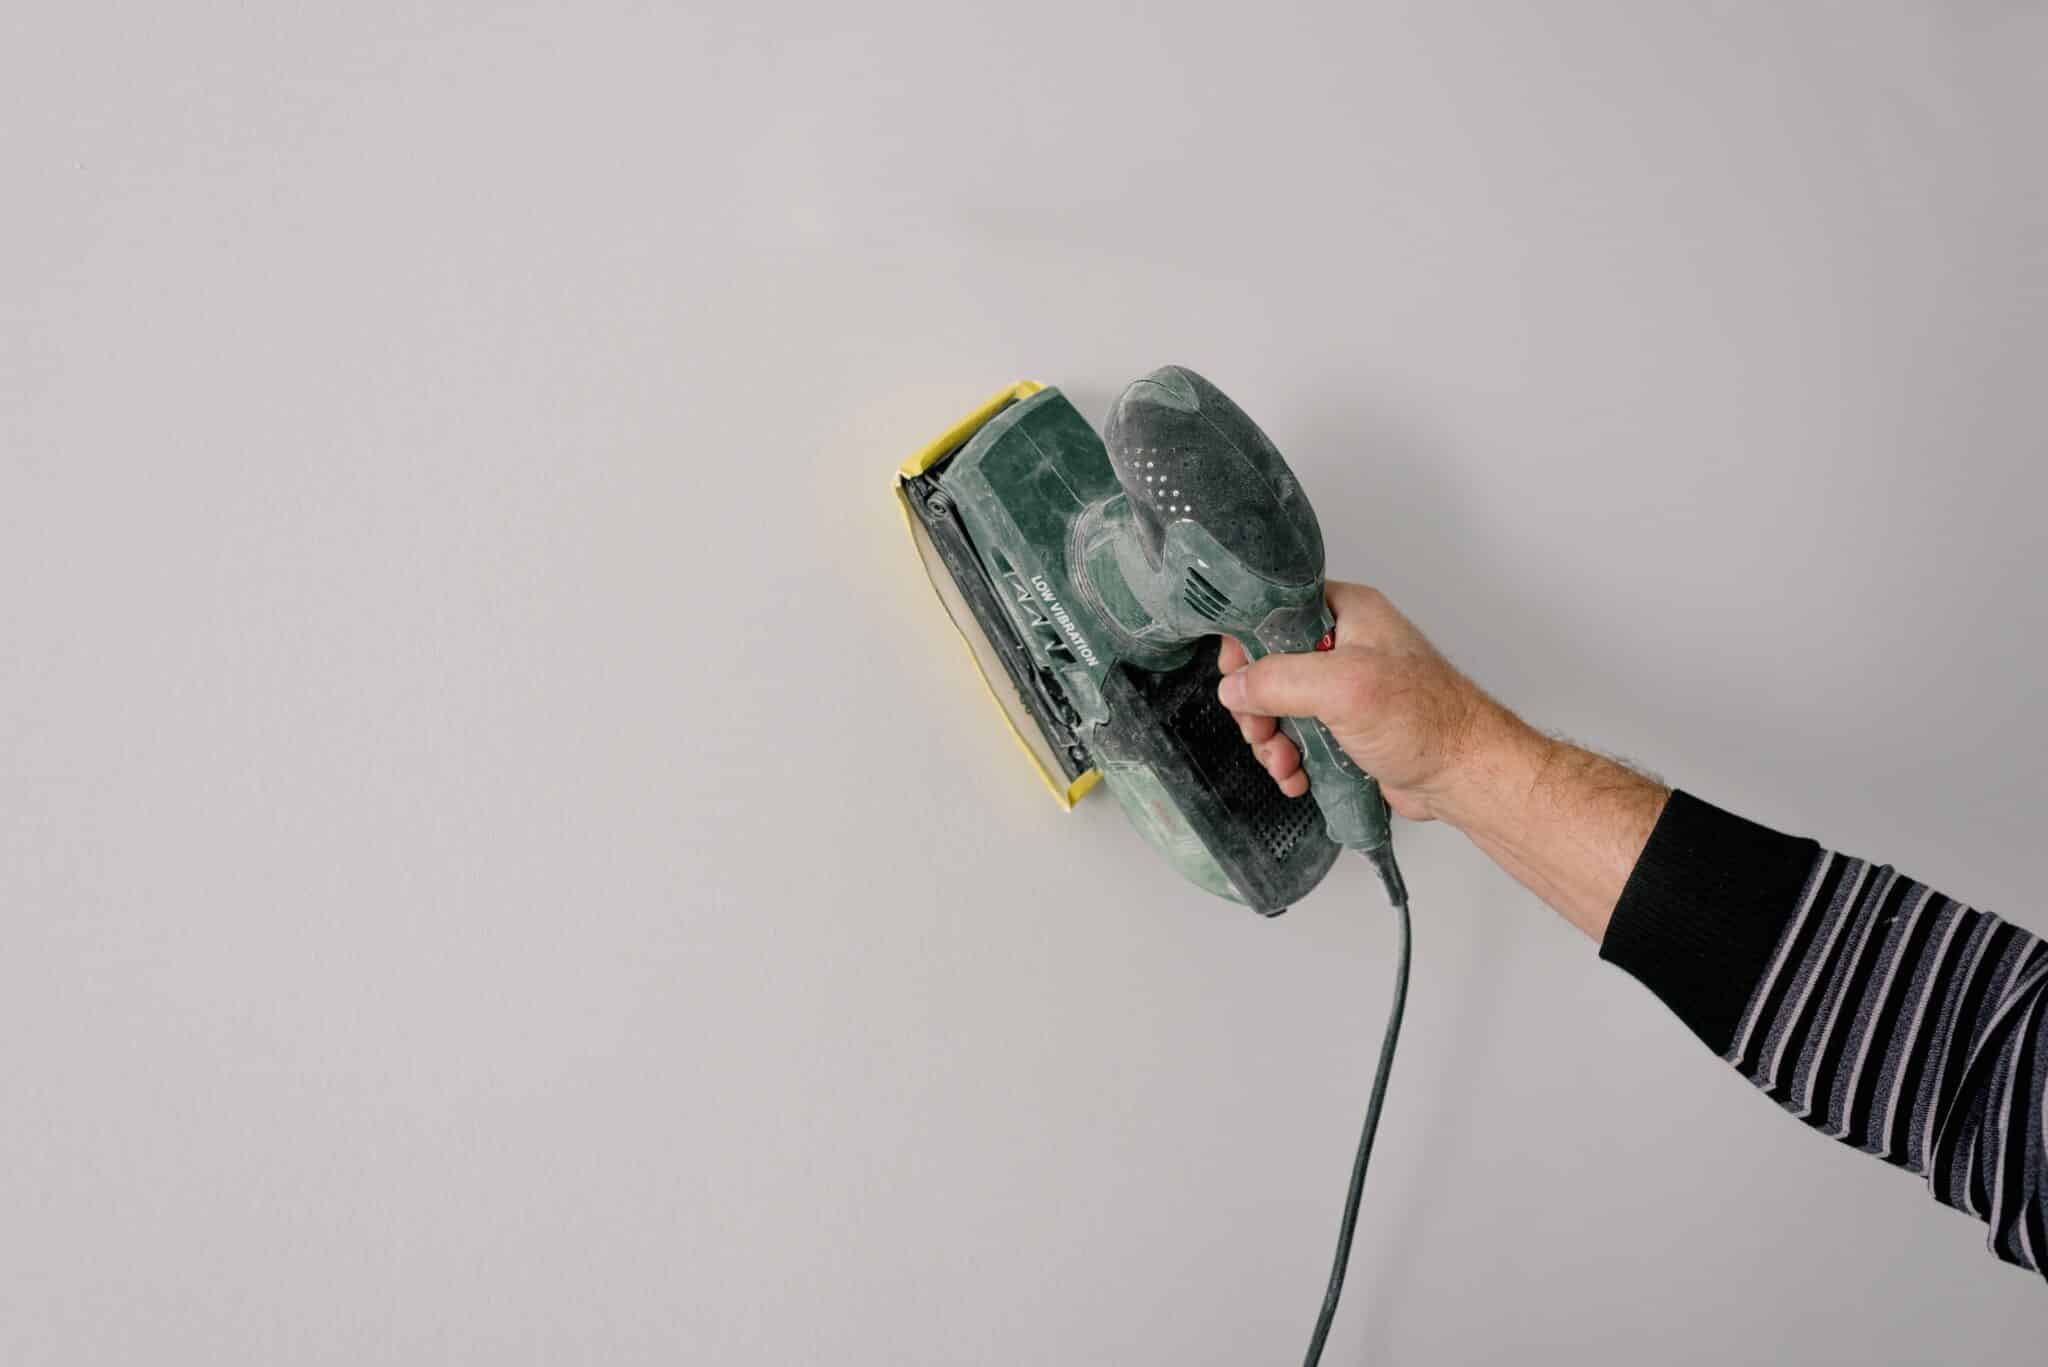
Sand Cupboards and Doors
Sand all surfaces of the cabinets and doors with 180 grit sandpaper to remove any remaining grime, sheen, or imperfections. Using a random orbital sander is ideal for this process.
You may also use a sheet of sandpaper, or a sanding sponge.
Cleaning and sanding is critical to remove all grime, grease, and sheen. If you do not do this properly and thoroughly, stains and such may show through your finish painted cabinets.
Once sanded, remove the dust with a tack cloth or lightly dampened cloth. Allow complete drying if you use a damp cloth.
Prime Kitchen Cabinets
Apply two coats of quality primer paint to all cabinets and doors using a 1/4″ nap roller and a fine bristle brush.
Best Primer for Kitchen Cabinets
I like to use Glidden Gripper (now PPG Primer) on all of my projects as it adheres better than any other primer I’ve used. It is one of the best kitchen cabinet primers you can use.
However, if you have heavily stained cabinets or cabinets with a lot of knots in the wood, a concealing primer such as Zinsser B-I-N primer is a good choice.
Allow to dry according to the paint can – usually 4 hours between coats and then 24 hours before finish paint.
Sand Kitchen Cabinet Primer
Lightly sand the primer paint by hand with a clean piece of 220 grit sandpaper.
Wipe away the dust with a tack cloth to prepare for applying the finish coats.
Finish Painting Kitchen Cabinets
For the finish paint, using acrylic latex-based paint is the way to go. Because it provides a surface that is durable and easy to clean.
Apply two coats of finish paint to all surfaces using a clean 1/4″ nap roller and clean fine bristle brushes.
Cut in all the edges first and then roll the larger areas. Always keep a ‘wet edge’ never allowing the paint to dry before completing the area you’re working on.
Sand very lightly between coats to knock down any high spots if necessary. Then remove the dust with a tack cloth.
Check the paint can for dry times and follow the manufactures recommendations. Some will say to thin the paint, and that’s okay too. Follow the instructions.
Pro Tips
- Paint the backs of the cabinet doors first. Paint the fronts last as you’re less likely to mar them if they’re done last.
- Run a utility knife along the edge of the painter’s tape to help with removal.
Reinstall Doors, Hinges, And Drawers
Now that you’re done painting your kitchen cabinets, it’s time to reinstall hinges, catches, doors, and drawers onto the cabinets. This is easy because remember, you labeled everything. 😉
Finish installing the doors and sliding the drawers in.
Kick back and enjoy your brand new looking white kitchen cabinets!

How To Paint Kitchen Cabinets Like a Pro
Equipment
- Sawhorses and 2×4’s
- Painters tape, plastic, canvas drop cloths, rags etc…
- Vinegar and water, sponges, and towels for cleaning
- 180 and 220 grit sandpapers (orbital sander optional)
- 1/4″ nap rollers
- Fine bristle paintbrushes
- Roller trays
- Paint bush cups
Ingredients
- Primer paint
- Finish paint
Instructions
- Remove doors, drawers, and hardware.
- Organize all hardware and doors
- Mask off with painters tape.
- Clean off the grime.
- Sand cupboards and doors.
- Prime kitchen cabinets.
- Sand kitchen cabinet primer.
- Finish painting kitchen cabinets.
- Reinstall doors, hinges, and drawers.
{ “@context”: “https://schema.org”, “@type”: “FAQPage”, “mainEntity”: [{ “@type”: “Question”, “name”: “What’s the best primer for kitchen cabinets?”, “acceptedAnswer”: { “@type”: “Answer”, “text”: “I like to use Glidden Gripper (now PPG Primer) on all of my projects as it adheres better than any other primer I’ve used. It is one of the best kitchen cabinet primers you can use. However, if you have heavily stained cabinets or cabinets with a lot of knots in the wood, a concealing primer such as Zinsser B-I-N primer is a good choice. Allow to dry according to the paint can – usually 4 hours between coats and then 24 hours before finish paint.” } },{ “@type”: “Question”, “name”: “How much does it cost to paint kitchen cabinets?”, “acceptedAnswer”: { “@type”: “Answer”, “text”: “If you’re going to hire a pro, it could cost anywhere from $5 to $10 per square foot. And that’s inside and out of your cabinets.” } }] }
- Like
- Digg
- Del
- Tumblr
- VKontakte
- Buffer
- Love
- Odnoklassniki
- Meneame
- Blogger
- Amazon
- Yahoo Mail
- Gmail
- AOL
- Newsvine
- HackerNews
- Evernote
- MySpace
- Mail.ru
- Viadeo
- Line
- Comments
- Yummly
- Send in Text
- Viber
- Telegram
- Subscribe
- Skype
- Messenger
- Kakao
- LiveJournal
- Yammer
- Edgar
- Fintel
- Mix
- Instapaper
- Copy Link